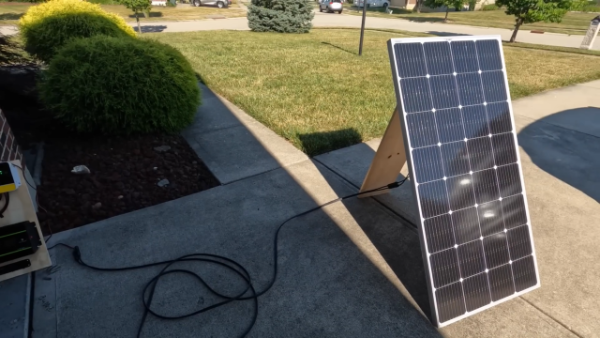
How to Build a Simple Solar Portable Station
How to Build a Simple Solar Portable Station (DIY Backup Power)
Disclaimer
This guide is intended for informational purposes. Electrical work can be dangerous — if you are not confident, consult a qualified electrician. Always follow local regulations and manufacturer instructions.
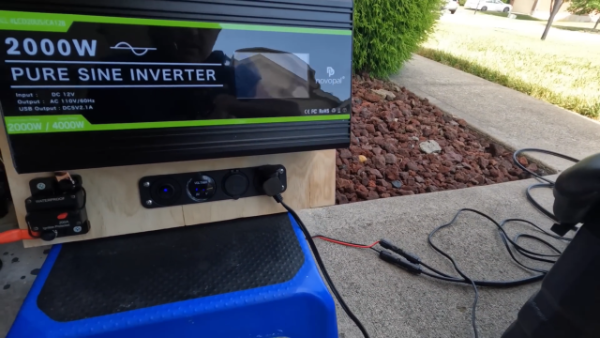
Build a portable, expandable solar generator suitable for a small workshop, RV, shed or as an emergency backup. This guide covers materials, mounting, wiring, testing and safety tips.
Step 1 — Materials required
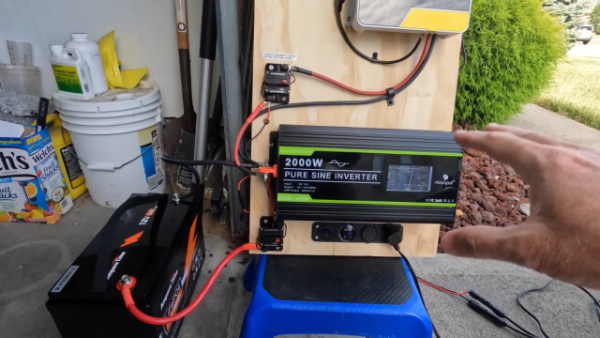
Collect quality components before you begin. Example brands/models used in this guide are shown in parentheses.
- Battery: 100Ah LiFePO4 battery (Ampere Time 12V 100Ah LiFePo4)
- Mounting panel: ½” plywood (use treated plywood if exposed to moisture)
- Charge controller: 40A MPPT (BougeRV 40A)
- Solar panel: 200W (Bouge RV 200W)
- Inverter: 2000W pure sine (12V input) (Novopal 2000W)
- Battery cables: 8 AWG (length as required)
- DC panel: 12V DC panel with USB and voltmeter
- Fuses / circuit breakers: 200A and 50A (or equivalent fuses)
- Connectors / tools: copper terminals, heat shrink, crimper, cutter, stripper
- Accessories: 20ft 8AWG MC4 solar extension cables, cable management clips, multimeter / clamp meter
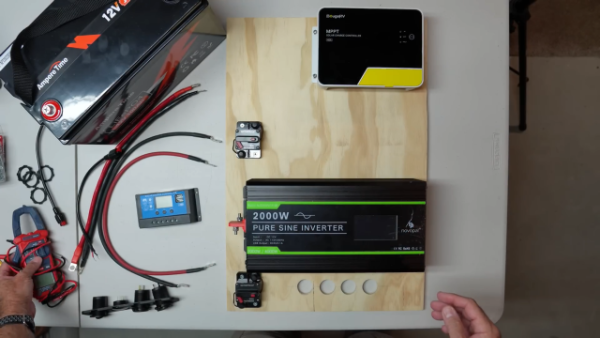
Step 2 — Prepare the mounting panel
- Choose a half-inch thick plywood board sized to fit your components.
- Lay out and mark positions for the charge controller, inverter, DC ports and breakers.
- Securely mount each component using appropriate screws and vibration-resistant mounts where needed.
- Place the 50A breaker between the charge controller and the inverter; mount the 200A breaker near the inverter/battery connection.
Step 3 — Wire the system
Observe polarity carefully and use the correct cable gauge. Follow all manufacturer torque recommendations for terminals.
Positive wiring (red)
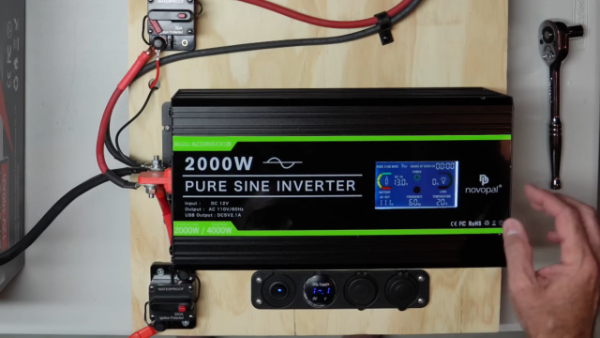
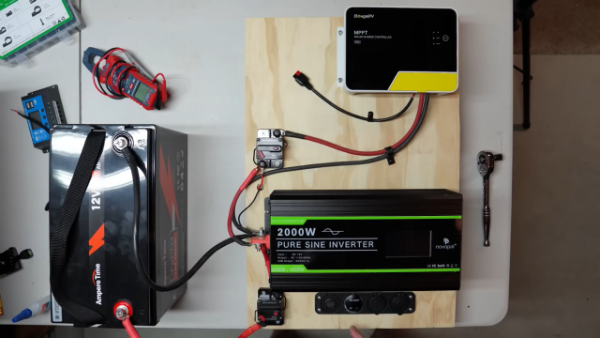
- Battery + → 200A circuit breaker +
- 200A breaker other terminal → Inverter +
- Inverter + → 50A breaker +
- 50A breaker other terminal → Charge controller +
- Battery − → Inverter −
- Inverter − → Charge controller −
Negative wiring (black)
Solar panels
Connect panel + and − to the MPPT charge controller input with MC4 connectors and appropriately gauged cable.
DC accessory panel
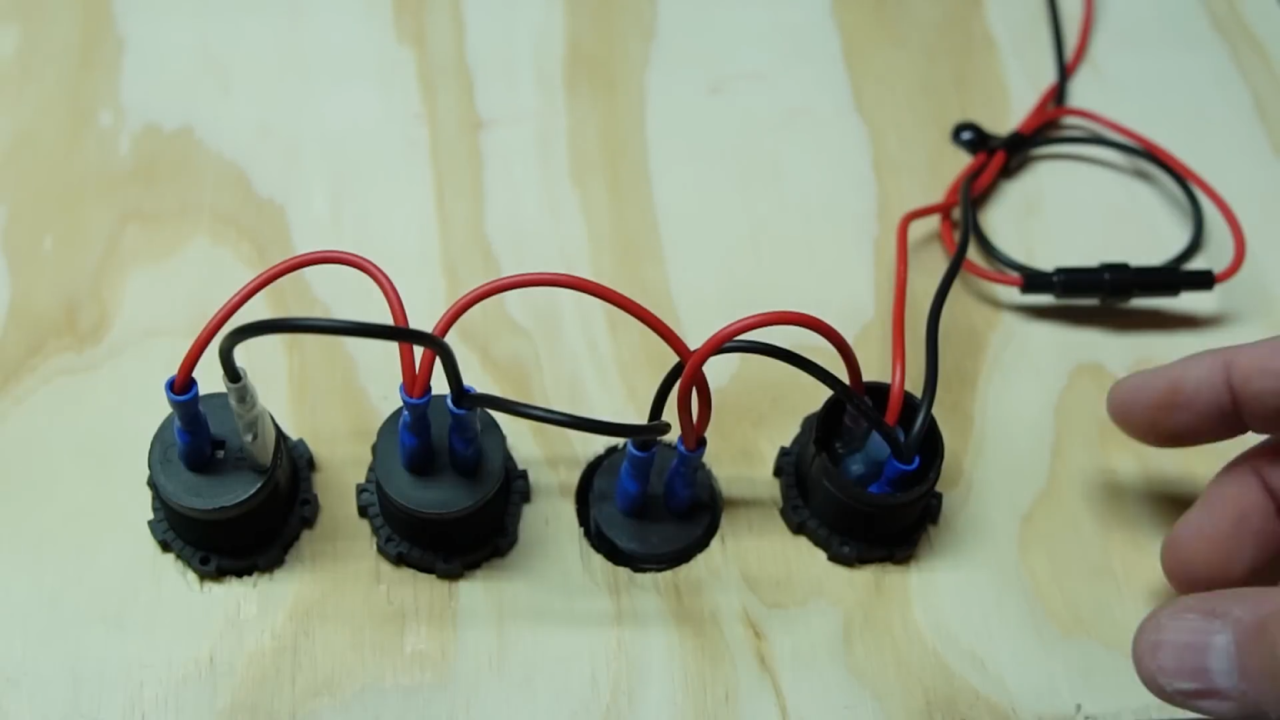
Wire DC port positives in parallel to the 50A breaker positive. Tie all DC negatives to the inverter negative (common ground).
| From | To | Notes |
|---|---|---|
| Battery + | 200A breaker | Main battery protection |
| 200A breaker | Inverter + | Use suitable lug/connectors |
| Inverter + | 50A breaker | Protects DC accessory feed |
| Panel +/− | MPPT input +/− | Observe polarity — MC4 to MC4 |
Step 4 — Connect battery and test
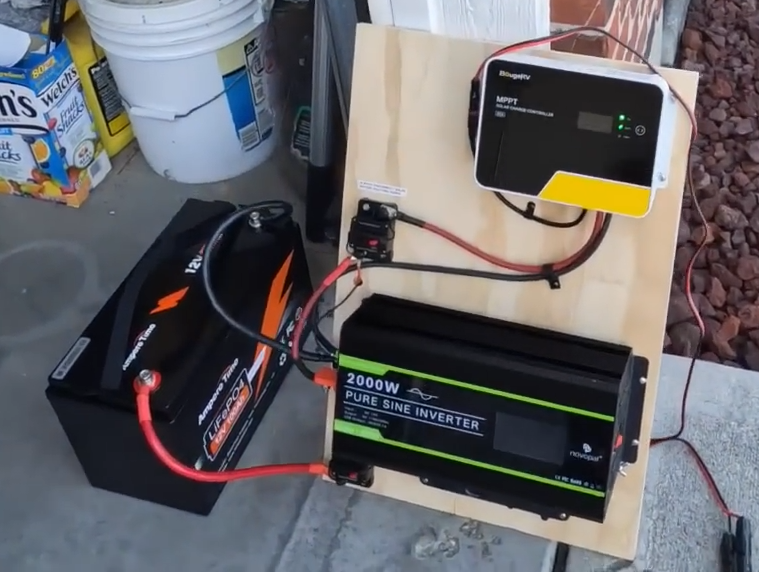
- Attach main positive and negative leads to the battery terminals but do not energize yet.
- Switch on the 200A then 50A breakers to energize the system (follow component manuals).
- Use a multimeter to verify inverter output voltage and DC port voltages.
- Power up the inverter and check for correct display readings; verify charge controller boots and shows panel input if panels are connected.
- Test AC loads (e.g., kettle or hair dryer) and DC loads (12V fridge). Monitor temperatures and wiring for hot spots.
Safety & best practice
- Always work with the battery disconnected unless performing a controlled test.
- Use insulated tools when working on live circuits and wear safety glasses and gloves.
- Install fuses/circuit breakers as close to battery terminals as practical.
- Keep wiring runs short where possible and secure cables with clips to avoid chafing.
- Follow battery and inverter manufacturer safety and ventilation guidance.
FAQ
Can I use a different battery chemistry?
Yes — lead-acid or AGM will work, but LiFePO4 offers longer life, higher cycle count and lighter weight. Ensure the charge controller profile matches the battery type.
How many panels can I add?
That depends on your MPPT controller input limits. Check your controller’s maximum open-circuit voltage (Voc) and maximum input amperage before adding panels.
Disclaimer
This guide is intended for informational purposes. Electrical work can be dangerous — if you are not confident, consult a qualified electrician. Always follow local regulations and manufacturer instructions.